

What is Gua Sha?
Gua Sha is an ancient Chinese massage technique that traditionally was used to move qi. Qi is energy that flows through your body, it is believed that if your qi is balance and freely flowing you will be healthier, physically and mentally.
Gua Sha involves using a using a blunt, smooth tool also known as a Gua Sha to apply pressure and scrape the skin.
What are the benefits?
As you glide the Gua Sha gently over your skin you are encouraging lymphatic drainage which helps to remove toxins. It also helps to break up fascia which is the connective tissue that hugs our muscles, fascia can interfere with circulation.
Improved blood circulation leads to a decrease in puffiness and increased collagen production and cell growth.
How do I know which shape is best for me?
Gua Sha tools come in many shapes, sizes and materials.
When it comes to choosing the right one for you firstly, think about where you want to use it the most, is it more for your face or body?
Now keep in mind most of them will work for both, but the answer to this should help you choose the size.
As for shape, the more sides and textures the more techniques you can try, but the simpler the tool the more beginner friendly.
Consider these things, but also try not to ever think it, let you intuition guide you.
Pick one that excites you, one that can’t wait to use. Ultimately, a beautiful Gua Sha that you feel will make your self-care ritual even more magickal, is the right one for you.
How do I use it?
Cleanse your skin and ideally apply a facial oil to help the Gua Sha glide across the skin. You could use a serum or moisturiser, but because they usually absorb quicker and texturally can be a little sticky I would recommend an oil.
Keep these next things in mind when you are using the Gua Sha.
- Keep the tool at a slight angle, but very close to flat on the skin.
- The pressure you will be applying might vary depending on the area you are working on. In regards to the face, use a light pressure, you can apply a little more pressure on the jawline and neck.
-
Keep your movements slow.
On to the face, we are going to do one side at a time and hear you always work upwards and support the skin with your fingers.
- Place your finger firmly under your chin to support the skin, with the other hand place your tool under the jawline and follow it up under your ear, do this 3-5 times.
- Next place your fingers on your chin, place the tool next to them and slowly pull it up to your ear, repeat this 3-5 times.
- Now place your fingers next to your nose, place the tool next to them, pull the tool upwards bringing it just above the ear, of course 3-5 times.
- The eye area gets the least amount of pressure, be very gentle with this next movement.
- Place a finger in the inner corner of the eye, lightly hold it. Place your tool next to your finger and move it slowly towards your temple and into your hairline, repeat 3-5 times.
- Place your fingers in-between your brows, place your tool next to them slide your tool along your brow bone and into the hairline, do this 3-5 times.
- Next gently place your fingers under your eyebrow, just on the orbital bone. Pull your tool straight up towards your hairline and as usual repeat 3-5 times.
- Repeat this on the other side of your face, but before you do check out the results.
The more you do this the better you will get, you’ll be able to close your eye’s and do it without even thinking.

Angelite | Obelisk Towers
- Regular
- from $23.00
- Sale
- from $23.00
- Regular
-
Sold Out
- Unit Price
- per

Calming + Clarifying | Raw Crystal Kit
- Regular
- $24.00
- Sale
- $24.00
- Regular
-
Sold Out
- Unit Price
- per

Caribbean Calcite | Raw | Multiple Weights
- Regular
- from $6.00
- Sale
- from $6.00
- Regular
-
Sold Out
- Unit Price
- per
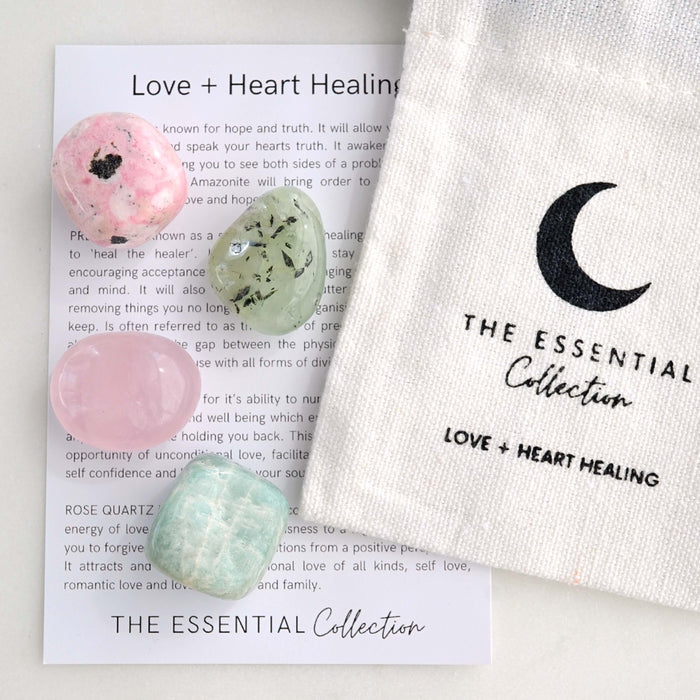
Love + Heart Healing | Crystal Kit
- Regular
- $24.00
- Sale
- $24.00
- Regular
-
Sold Out
- Unit Price
- per
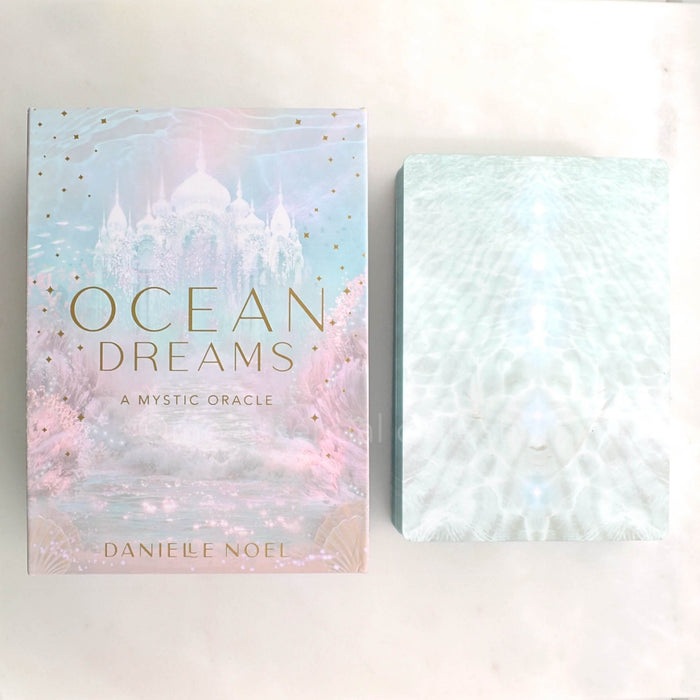
Ocean Dreams | Oracle Cards
- Regular
- $98.00
- Sale
- $98.00
- Regular
-
Sold Out
- Unit Price
- per

Rhodochrosite | Obelisk Towers
- Regular
- from $31.00
- Sale
- from $31.00
- Regular
-
Sold Out
- Unit Price
- per

Selenite Sticks | 10cm | Bundle of 8
- Regular
- $25.00
- Sale
- $25.00
- Regular
-
Sold Out
- Unit Price
- per

Selenite Sticks | 6-8cm
- Regular
- $4.00
- Sale
- $4.00
- Regular
-
Sold Out
- Unit Price
- per

Selenite Sticks | 6-8cm | Bundle of 10
- Regular
- $20.00
- Sale
- $20.00
- Regular
-
Sold Out
- Unit Price
- per
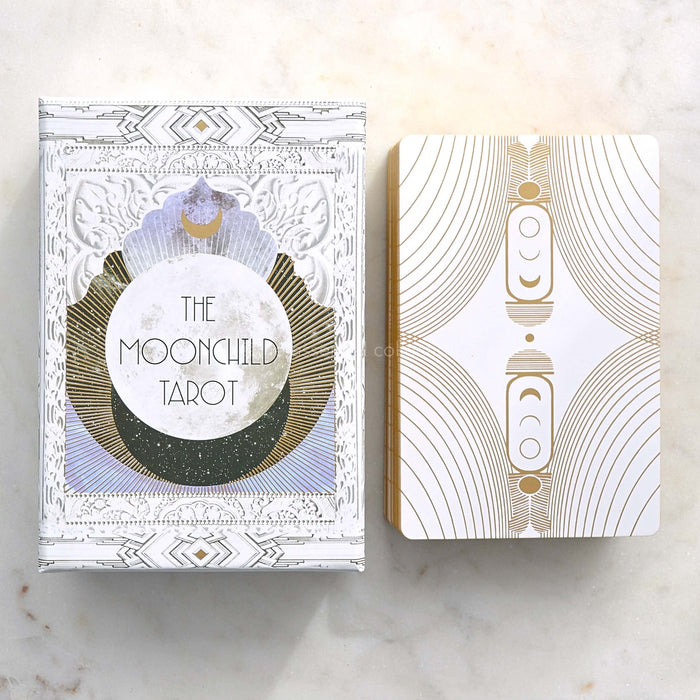
The Moonchild | Tarot Cards
- Regular
- $98.00
- Sale
- $98.00
- Regular
-
Sold Out
- Unit Price
- per